


Item with Product type: Photo cube


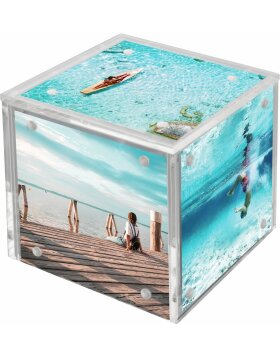
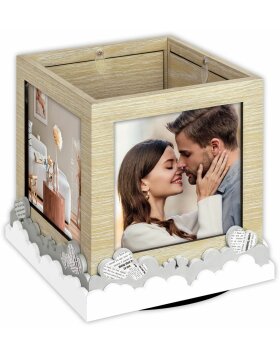
Photo Cubes - The Ideal DIY Photo Gift
Photo cubes are a creative and personal way to preserve memories and present them as gifts. They are usually made of acrylic or plastic and are easy to personalise with individual photos. Photo cubes offer a unique way to present special moments and people in an original and decorative format. In this article, we will highlight the benefits of photo cubes as a DIY photo gift and give tips on how to create such a gift.
Advantages of photo cubes as a photo gift
Personal touch: Photo cubes are an ideal way to share personal memories and moments with friends and family. By choosing the photos to put on the cubes, you can add a very personal touch and show your connection with the recipient.
Versatility: Photo cubes are available in different sizes and materials, so they can be perfectly matched to the individual taste and interior of the gift recipient. They are suitable for a variety of occasions such as birthdays, weddings, anniversaries or simply as a loving gift.
Creativity: Photo cubes allow you to let your creativity run wild. You can combine different photos to create an overall image or design each cube with a different theme. The design freedom is almost unlimited.
Simplicity: Photo cubes are easy to create and assemble. No special skills or tools are required to create an appealing and personalised photo gift.
Instructions for DIY photo cubes
Step 1: Choosing the material and size First decide on the material (acrylic or plastic) and the size of your photo cube. Pay attention to the preferences of the recipient and the intended use of the cube.
Step 2: Preparing the photos Select the photos you want to place on the cubes. Make sure they are of good quality and the right size. You can also crop or edit the photos with photo editing software to get the best results.
Step 3: Attach the photos Attach the photos to the cubes. You can use double-sided tape or special photo glue for this. Make sure that the photos are stuck on straight and without wrinkles or bubbles.
Step 4: Assemble the photo cube Now assemble your photo cube. If you have created several cubes, you can arrange them on top of each other or next to each other to create an appealing overall picture.